The Right Level of Upgrades for Your Neighborhood
Deciding on the Right Level of Upgrades for Your Neighborhood
When renovating your home, it’s important to strike a balance between creating a space you love and making smart financial investments. One key factor to consider is the level of upgrades you choose, relative to other homes in your neighborhood. Over-improving can make it harder to recoup your costs when it’s time to sell, while under-improving may leave you feeling dissatisfied with your space. Here’s how to decide on the right level of upgrades for your specific neighborhood and situation.
 Assess Your Goals
Before making any renovation decisions, clarify your goals for the project. Are you primarily focused on creating your forever home, or do you plan to sell within the next few years? If you’re staying put for the long haul, you may have more flexibility to personalize your space and splurge on upgrades that bring you joy, even if they don’t have the highest resale value. On the other hand, if you’re renovating with an eye toward selling soon, it’s crucial to consider what potential buyers in your area are looking for and what they’re willing to pay.
Research Your Neighborhood
To gauge the right level of upgrades for your home, do some research on your neighborhood’s real estate market. Look at recent sale prices of homes similar to yours, and pay attention to how renovated spaces compare to original ones. If homes with high-end finishes and extensive remodels are selling for significantly more than those with more modest updates, it could be a sign that upscale renovations are valued in your area.
When driving around your neighborhood take note. Are most houses well-maintained with updated exteriors, or are many in need of obvious repairs? Do you see a lot of on-trend design features, or do most homes have a more traditional look? Understanding the standards of your specific neighborhood will help you make informed decisions about your own upgrades.
Consider Your Home’s Age and Value
The age and current value of your home should also factor into your renovation choices. In general, older homes may require more extensive upgrades to meet modern standards of functionality and aesthetics. However, if your home is one of the oldest or least valuable in the neighborhood, it may not make sense to invest in top-of-the-line finishes, as you’re less likely to see a strong return on investment.
On the flip side, if you own a newer, higher-end home in an established neighborhood, you may need to choose more upscale renovations to match the quality buyers expect in your price range. A good rule of thumb is to aim for upgrades that align with or slightly exceed the average level in your neighborhood without going overboard.
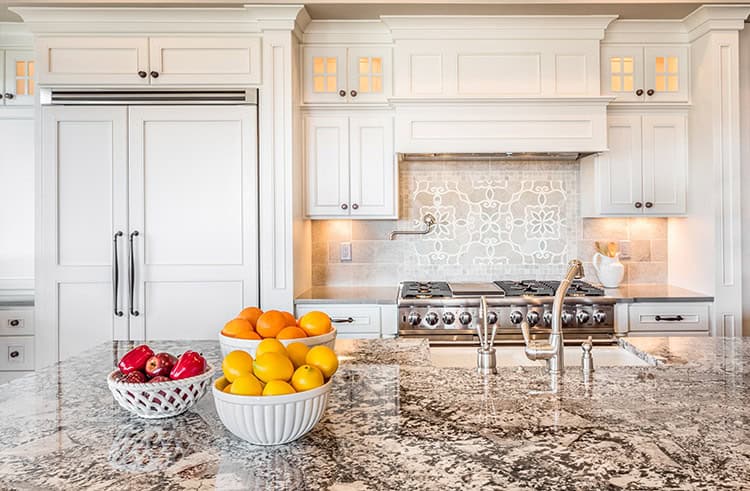
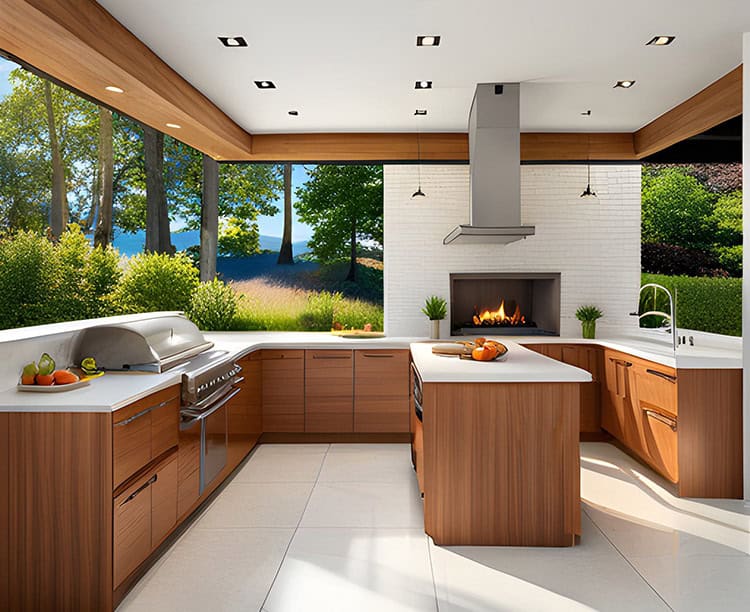
Prioritize High-Impact Upgrades
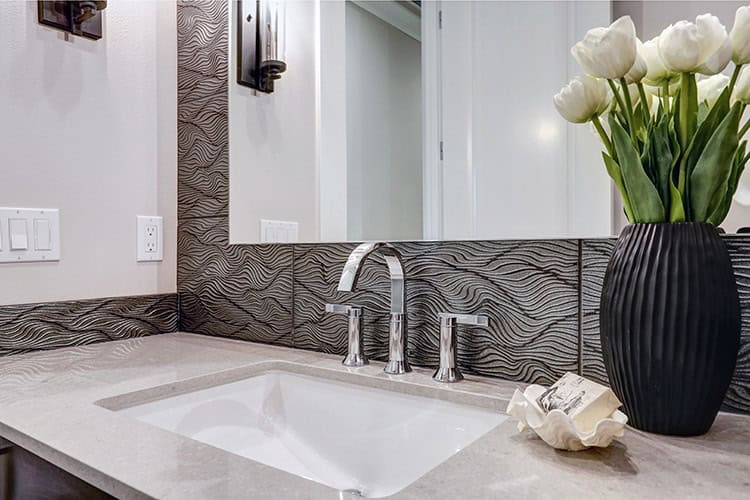
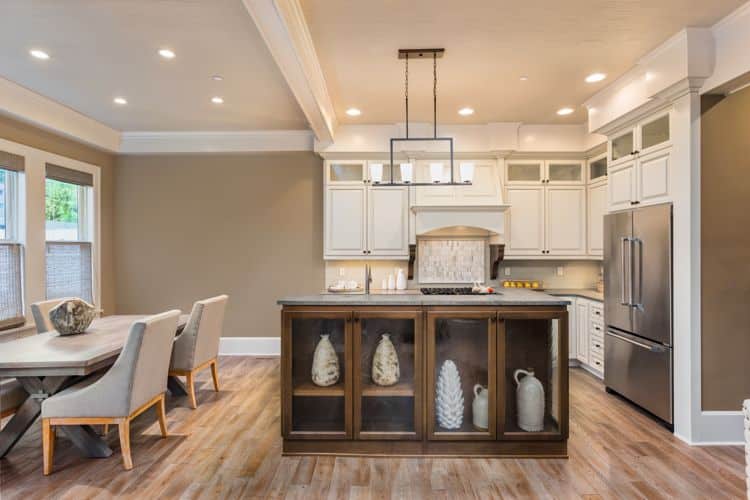
When deciding where to allocate your renovation budget, focus on upgrades that have the biggest impact on your home’s functionality, aesthetics, and resale value. Kitchens and bathrooms are always a smart place to invest, as these spaces are highly valued by homeowners and buyers alike. Upgrading essentials like flooring, countertops, cabinets, and appliances can go a long way in giving your home a fresh, modern feel.
Other high-impact upgrades to consider include:
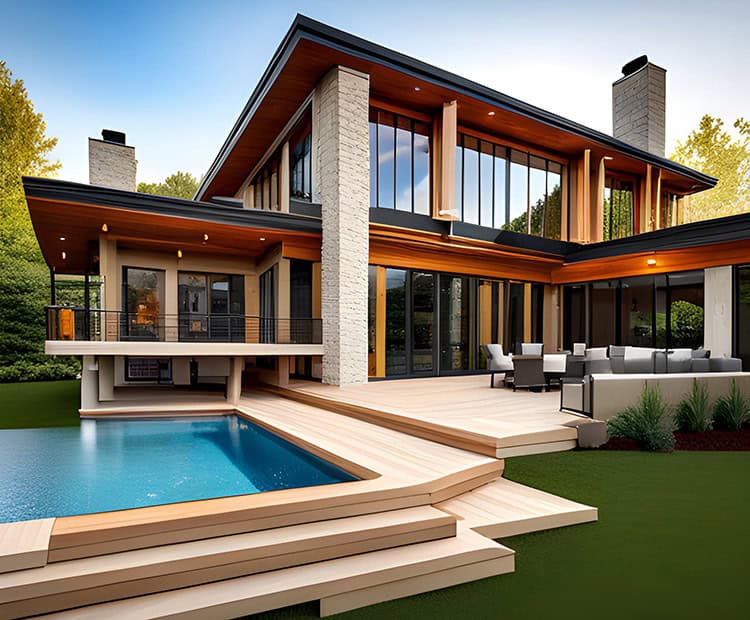
- Boosting curb appeal with updated landscaping, exterior paint, or a new front door
- Creating an open floor plan by removing walls between main living spaces
- Adding square footage through a home addition or finished basement
- Improving energy efficiency with new windows, insulation, or HVAC systems
- Installing smart home technology for convenience and security
Work with a Professional
Navigating the complex world of home renovations can be challenging, especially when trying to decide on the right level of upgrades for your neighborhood. Consulting with a professional contractor or designer can provide valuable guidance and help you make informed decisions.
A skilled contractor will have a deep understanding of local real estate trends, as well as the costs and returns associated with various upgrades. They can assess your home’s current condition, discuss your goals and budget, and recommend renovations that will enhance your space while being appropriate for your neighborhood.
Ultimately, the key to a successful renovation is striking a balance between creating a home you love and making wise financial choices. By doing your research, prioritizing high-impact upgrades, and working with trusted professionals, you can find the sweet spot for your neighborhood and enjoy a beautifully updated space that meets your needs and budget.


 Style & Placement